"Art is my vehicle through life; may we share the ride together." Ron Wickersham

Friday, March 1, 2013

Today's the Day!


The new Front Porch Kit from The Little Blue House will be released on Tuesday, March 5, but sneak peeks and orders start today!

Here's a peek at part of the awesome design board showcasing this fun and colorful kit. Can you guess what the focus of this kit is?


I created 5 cute projects with this kit and here's a small portion of one. Can't wait to share them all after the 5th!


We are happy to welcome a guest designer for this kit, Leslie Ashe.  Check out her blog here and see what she is creating with the kit!

You can order your own kit online at www.thelittlebluehouseonline.com starting today or by calling The Little Blue House at 817-431-7930.  You can also stop by the store - starting the 5th the projects will be on display!

Be sure to visit all the other Design Team members (see their blog list on the right of my blog) to see their sneaks too.

Wednesday, February 27, 2013

A New Front Porch Kit is coming soon!


We are happy to announce that a new Front Porch Kit - "Say Cheese" - will be revealed on March 5th. I can't wait to share some of the projects I've been creating so starting Friday, March 1, I will be sharing some sneak peeks here on my blog! So what do you think the kit will be featuring?

Saturday, February 23, 2013

A Colorful Workshop

I've been following Carolyn Dube's blog, A Colorful Journey, for several months. She does alot of art journaling and playing with messy media. I like her carefree style and relaxed manner of teaching. She has put together a free workshop called "Use Your Words" which consists of six lessons with videos using typography in different ways.  You can check it out at A Colorful Workshop and sign up here. The "class" is finished (in real time) but the lessons and videos are available forever.

I have watched all the lessons, but have only been able to complete the first project.  We chose a word which was stenciled on the page with paint. Carolyn retained alot of white space in her background, but I used a page in my journal that already had several layers. We were supposed to write something (illegibly and messily) and add more layers if we chose.

Here's my page - I chose the word DARE, filled the background with large script, and added some spray mist drippage along the top edge. At this point I felt it needed something more.


So I outlined the letters with white pen and added paint spatters with diluted white paint.  I think I got carried away - looks more like a blizzard! Lesson learned, but that's what playing in my art journal is all about!


I hope you will go check out Carolyn's workshop. It's lots of fun to watch her create a page and be inspired to do your own. And, it's free!

Tuesday, February 19, 2013

Art Journal Page

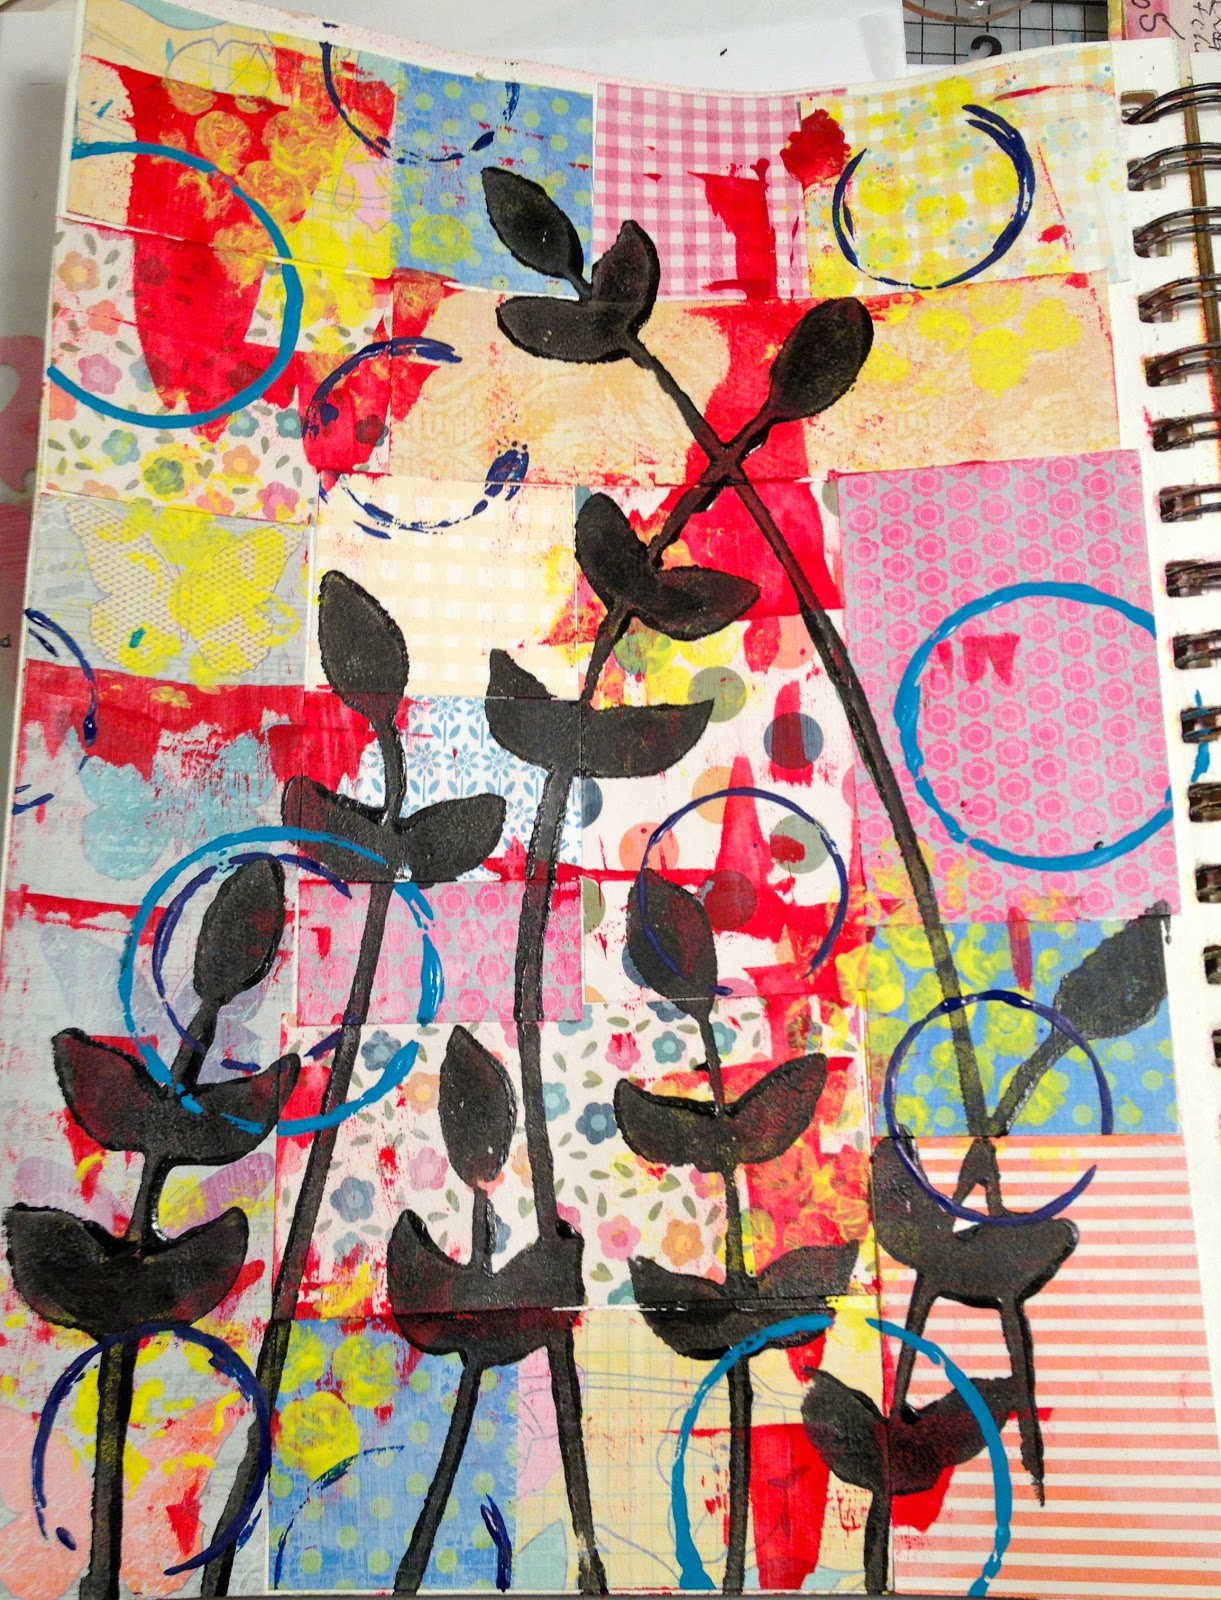
My art journal has waited patiently for months for me to get inspired and get back to creating within it. Since I've been doing quite a bit of babysitting for my 10-month old grandson this month, I have not been able to create much. But yesterday I finally managed to take some time during naps to work on a page.

I was inspired by a similar page I saw on Flickr that interested me because the base page was created with random scraps, which I have lots of! I even remembered to take some photos of the process.


To start, I cut squares and rectangles of several scraps and glued them to the base. I then whitewashed over the papers with diluted gesso to blend the colors and patterns.


 Next I scraped some red paint with an old credit card in different areas and used bubble wrap to stamp with yellow paint here and there.


After that was dry, I stamped the foam leaf sprigs stamp with black paint.


I stamped the circles with a bottle cap and an empty tape spool using turquoise and dark blue paints.


The words are an old Inkadinkado stamp which I stamped with black Archival ink.


To finish and frame the page, I used red gelato around the edges, smudging with my fingers.

I was happy with my page and love the fun, bright colors. It was fun to just play once again in my art journal!


Wednesday, February 6, 2013

New Classes

I've just finished two new class projects for the Little Blue House. 

First up is a double layout "Dear to my Heart" with the new "Fourteen" line of papers from Crate Paper. I love the combination of pinks, reds, teal and gray in this collection.


Closeups


I also designed a cute little acrylic minibook "Love 2 Craft" which would be perfect for favorite photos of your crafting group or retreats or crops or even projects. The title can be changed to Love 2 Create or Scrap or Art or Sew - the choice is yours! This one has some fun techniques and, for such a little book, provides space for lots of photos.  It features crafty papers from We R Memory Keepers


Inside "sneaks"


If you're interested in taking a class, come by The Little Blue House in Keller, TX, or call 817-431-7930 to reserve your seat.

Saturday, February 2, 2013

What I've Been Up To

We babysat last weekend in Albuquerque for Drew, 6 1/2 months old now. He's sitting up by himself, but the bear is for backup! He was an angel.


Then we flew on to Austin to visit little Carl who is 10 months old and just started walking!


Now that we're back, I need to get creative again - working on a layout and mini book for classes. I'll share as soon as I can.

Thursday, January 24, 2013

Organizing Paper Scraps

My thoughts always turn to organizing at the beginning of a new year And, goodness knows, my art room certainly needs it!

I think paper is the hardest to organize.  I have my 12x12 and 8 1/2x11" cardstock stored nicely in paper towers and file drawers by color.  If I use a portion of a piece of cardstock, I try to cut the remainder into as many 5.5x8.5" pieces (card base size) or 4x5.5" pieces (card front size) as I can so they will be ready for cards. The remaining scraps are stored in file folders by color in a file cabinet beside my desk so I can reach for them easily. I find this works really well and I actually use alot of these scraps before cutting into a new sheet of paper.

My problem, however, is the patterned papers. The full sheets are no problem as I store them like the cardstock but in theme and season categories. The problem comes with all the scraps and, yes, I hoard these like everything else. About a year ago I found this organization system from Betsy Veldman and it sounds perfect. I rediscovered it on Pinterest today here: http://www.papercraftsconnection.com/blog/2011/07/groovin’-with-the-go-to-gals-the-scrap-basket-challenge/


Betsy cuts the papers into 6x6" pieces and files them by predominant color. She also has a second container for stripes, florals, dots and neutrals. She discards any remaining scraps. And the container is so cute!

I'm thinking I might try this. Currently my patterned scraps are in a large box and they seem to multiply!    This seems to be a more manageable system. I just need to overcome my urge to keep them all and learn to discard anything smaller than 6x6."

How do you store your cardstock, patterned papers and scraps? I would love to hear from you to find out what works or doesn't!

I won't be posting again for several days. I'm off to Albuquerque to babysit this little guy. Can't wait to cuddle and love on him!