"Art is my vehicle through life; may we share the ride together." Ron Wickersham

Wednesday, September 23, 2020

Still Another Wreath

 I guess I'm on a wreath kick this fall. I promise this is the last one! Since I'd made one for fall and Christmas, I needed one for Halloween. Again, I've had this on my to-do list for a few years and am glad to have finished it in time for Halloween this year.


This one was so easy! Except for Mod Podging the papers to the clothespins, no glue is involved! The pins are simply clipped to the wire wreath form. I used more pastel fall-colored paper scraps to give it a softer look. The tags were in my stash and are "faux stitched" with a white chalk pen. Can't wait to put this out for Halloween.


Sunday, September 13, 2020

September Swaps

Another month and more art swaps with my online group. I signed up for quite a few this time, so I've been busy.

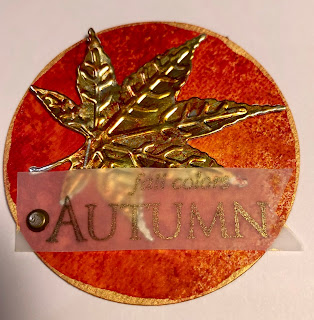
The altered trading coins' theme for September is "colors of autumn leaves." I used several spray inks to create the mottled background and added an embossed metal leaf colored with alcohol inks. The "title" is part of a stamp heat-embossed on vellum.


The second swap was for a pink or breast cancer card. This was one I had done sometime at a convention using breast cancer resist papers and watercolor crayons.


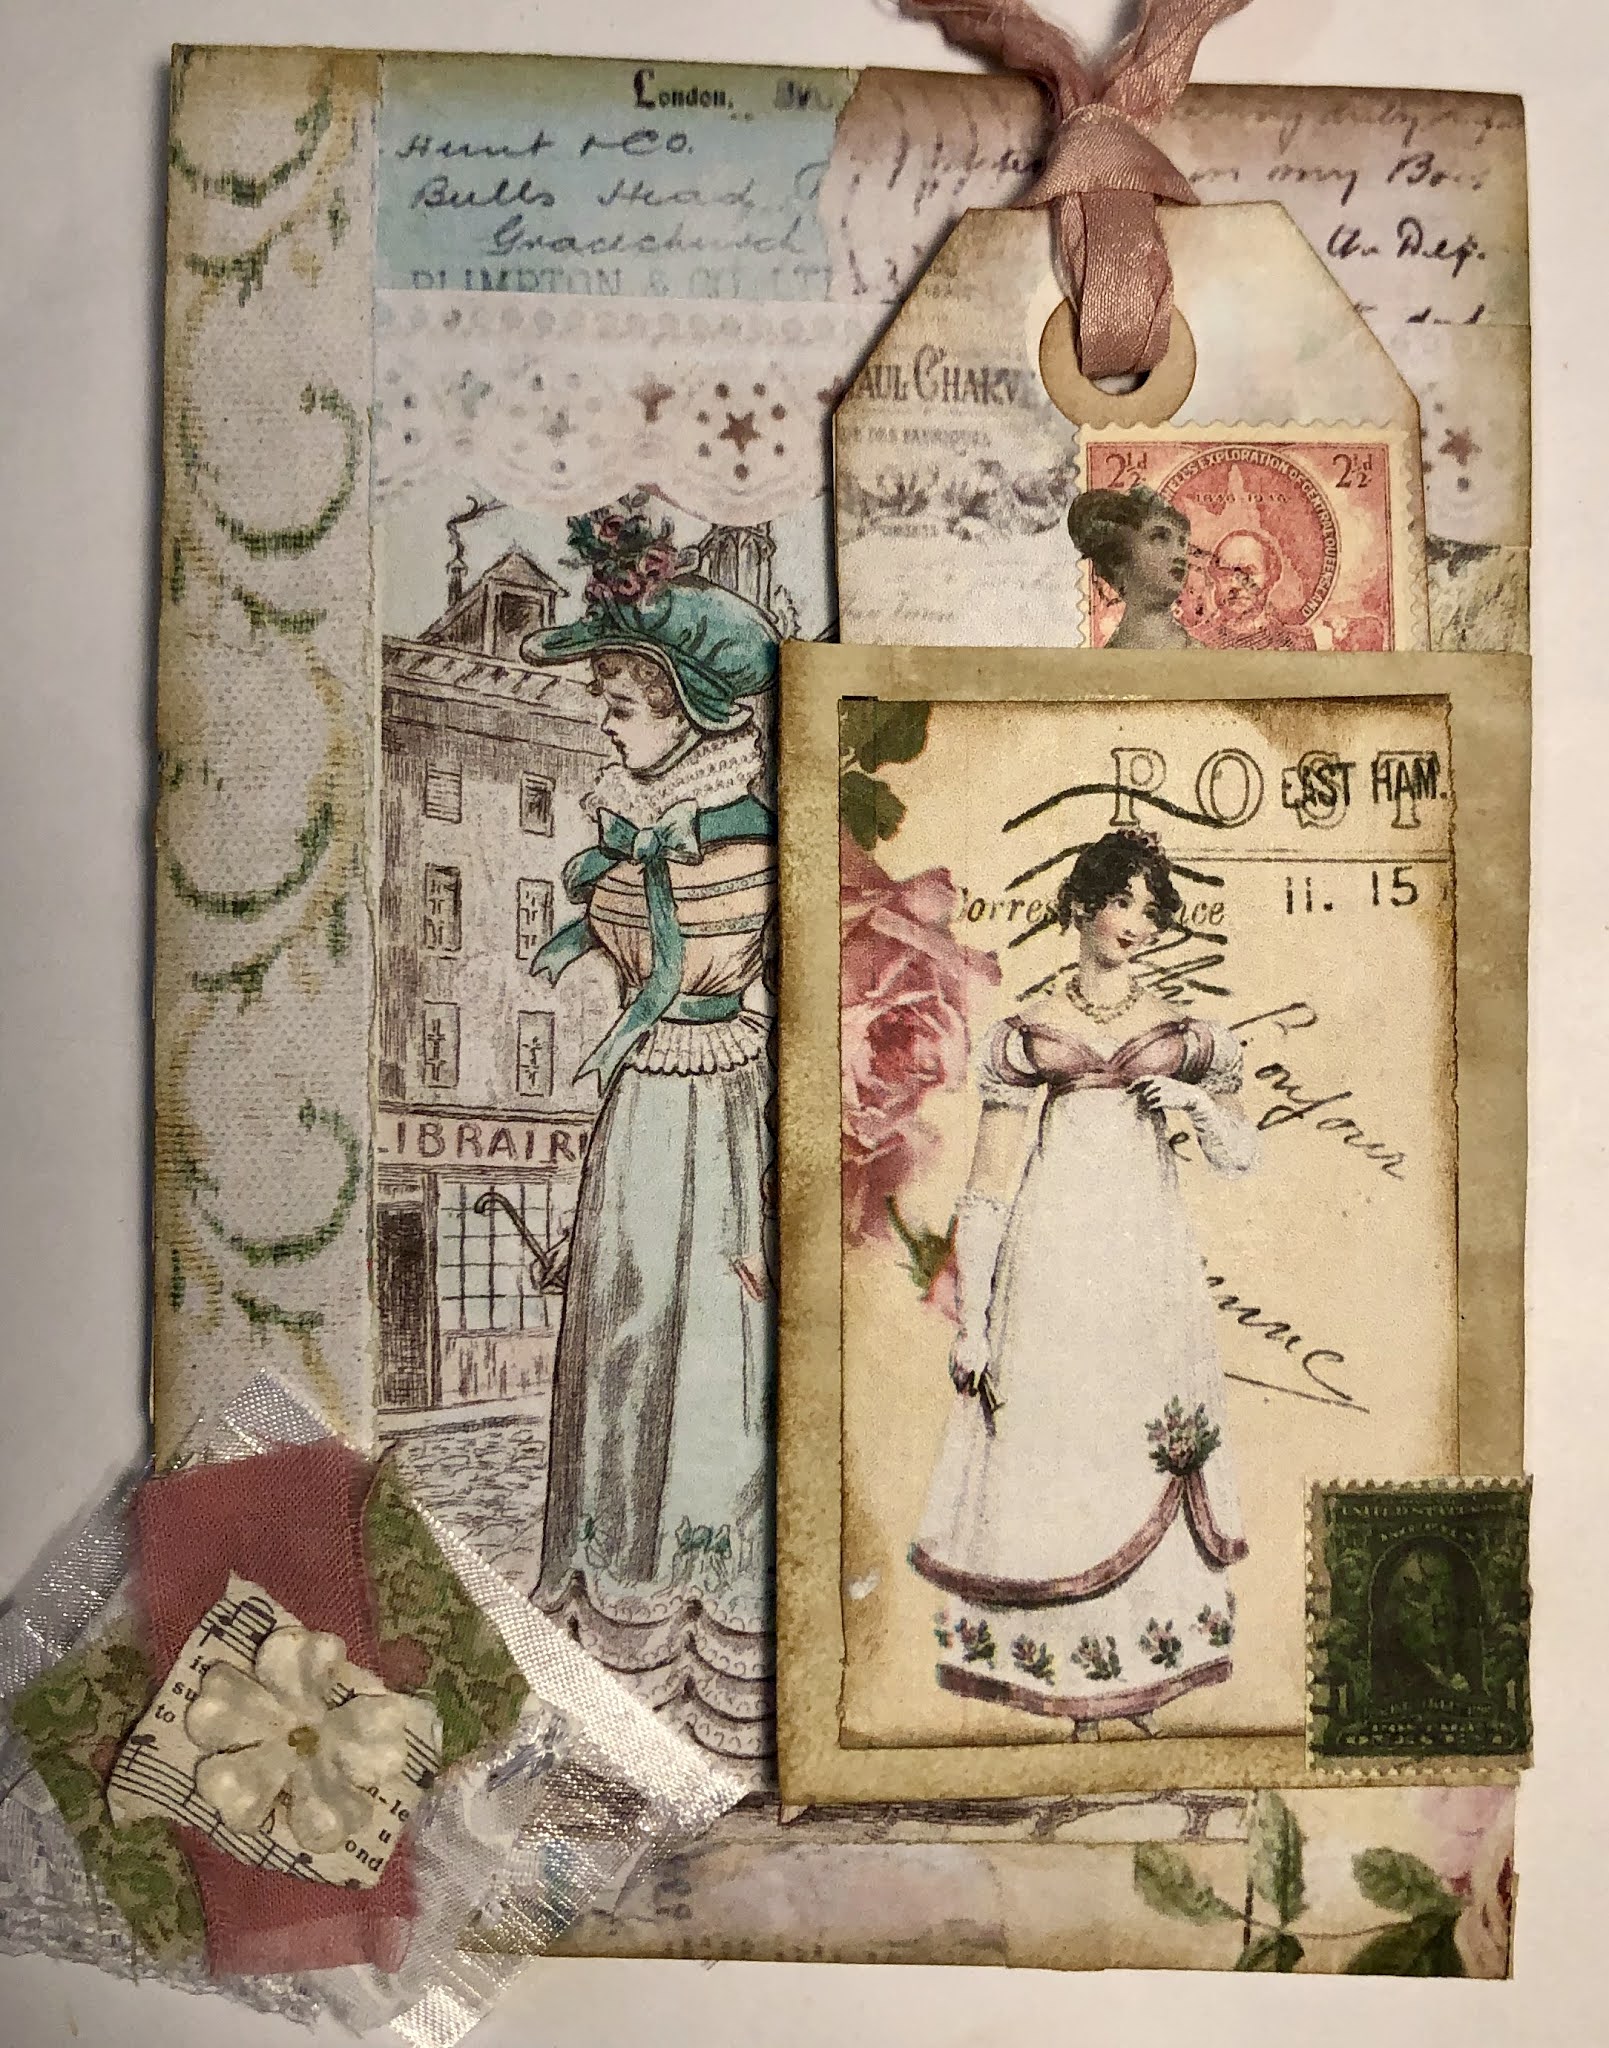
Next is a "Shabby Chic Pink" tag swap - make and send three and receive three back.

These tags were made on a collaged background, which you can barely see now they are finished! I've added a portion of paper doily, vintage lace, paper and satin flowers, tiny labels and definitions, butterflies and floral cards mounted on distressed book pages. The ties are sari silk.


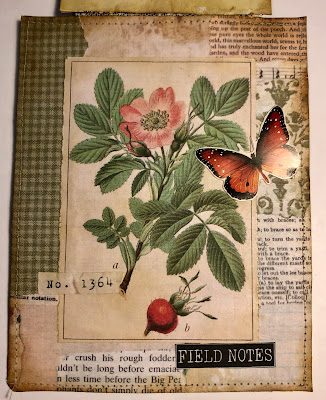
This month's junk journal page swap had no theme so I went with nature - birds, butterflies, flowers, mushrooms and lots of green.

This is the front of the page with a flip-up journal card at the top.


this is the fiont of the page with the card flipped up.


The back has a wide lace pocket at the bottom. Inside is tucked a double pocket insert made with book pages.


This is the double pocket with the tags. I used lots of collage, as always.


Looking forward to receiving mine in return!


Tuesday, September 8, 2020

Ready for Christmas?

Last year I saw a similar wreath on Pinterest and wanted to make one. I found a checked napkin at the Target dollar spot and already had an embroidery hoop but that is as far as I got! So this year I'm starting early and just finished this cute wreath. It was so easy I don't know why I procrastinated so long. I love it!


Thursday, September 3, 2020

Dollar Tree Autumn Wreath

 Oh my gosh, where does the time go? You'd think that during lockdown time would slow, but I'm finding it's galloping along and I'm not sure what I've been doing!


Last week I did make a fall wreath that's been on my to-do list. Most of the supplies are from Dollar Tree - twine, pumpkins, leaves, metal word and three splatter screens.  All kinds of wreaths are on Pinterest using splatter screens - who thinks of these things? 

Anyway, I'm happy with how it came out and it was a fairly quick and easy diy. I'm ready for fall!


Wednesday, August 19, 2020

"As Time Goes By" Junk Journal Page for a swap

 This page was made for a friend for a swap. The theme was "As Time Goes By."  As per the swap, the page measures 5"x7." 

The front of the page is collaged and there is a flip-out pocket made from a coffee-dyed envelope.


Both the front and back of the envelope have images glued on. Inside the pocket is a tag with another image.  There's a fabric/paper cluster glued to the bottom left corner.


The back of the page is left fairly plain. It's coffee-dyed paper with some light stenciling in ink. The kraft doily creates a "tuck spot" which holds an envelope made with old book pages stamped and embellished. Inside is a small journal card.


Monday, August 10, 2020

Skinny Belly Band Pocket and Tag

 Here's a quick little tutorial to make a belly band pocket and tag from a junk mail envelope.


First glue the flap closed and then cut the envelope in half lengthwise. One half will be the pocket; the other half will be the tag. For the tag piece, glue it together and cut it slightly shorter and narrower.

Decorate as desired and add a tab to the long side of the tag. (I added a plain piece of tea-dyed paper to the back of the tag so it can be journaled on.)


To add to a journal page, glue only the top and bottom of the pocket to the page. Then a journal card or other ephemera can be slipped under the band.

Saturday, August 1, 2020

Mini vintage photo album and tab binding

Happy August everyone! Can you believe it?


This is a cute little vintage photo album (approximately 3" x 4") that I saw on YouTube https://www.youtube.com/watch?v=-6Vrs5GWL4o&t=1006s.
The cover is a printable from the artist (Artymaze). 

I loved the binding on this little book. It is very simple and just requires some strips of muslin (mine were tea-dyed and torn). This would work for any size book and you would just add more strips depending on the size of book and number of pages. I think it requires an even number of pages.

I used four pages inside and a total of 8 muslin strips. Here are the steps to gluing the strips to the pages. I started with strips approximately 1" wide by 2" long but once they were glued, I cut them shorter.


Step 1: front cover with two muslin strips glued on


Step 2: turn over front cover and glue one strip to center of first page


Step 3: turn page over and glue two muslin strips from front cover to back of first page


Step 4: glue two strips to second page


Step 5: turn second page over and glue the center strip from page one to the back


Step 6: glue one strip to center of third page


Step 7: turn third page over and glue two strips from previous page to the back


Step 8: turn page over and glue two strips to next (fourth) page


Step 9: turn page over and glue center strip from previous page to back of fourth page


Step 10: turn back cover over and glue two strips from previous page to back

I love this little album. It really looks like an old vintage one!