"Art is my vehicle through life; may we share the ride together." Ron Wickersham

Tuesday, March 26, 2019

Altered Trading Coins

We just returned from the weekend in Austin celebrating our oldest grandson's 7th birthday! How in the world did that happen so fast?  He had a fun "Minecraft" themed party. His mom goes all out, making the decor herself, and even the refreshments were Minecraft-themed.  At the moment Carl says he doesn't like cake, so she made a three-layer ice cream cake frosted with Cool Whip. It was delicious!

I am behind in posting the Altered Trading Coins from my monthly swap.

February's theme was "umbrella."  These are the two coins I received.

Front - from Linda

Back - from Linda

Front - from Roxie

Back- from Roxie - she opened a real drink umbrella and adhered it to the coin

The theme for March was "Easter."  These are the two coins I made for my partners.


And the two I received.

From Joan

From Cindy

Friday, March 22, 2019

"Reflection" Altered Book page


This is a simple page with a painty background and bits of drywall tape.  The focal image is an old stamp that I stamped on tissue paper and then decoupaged to the page. Black Stabilo pencil was smudged around the image, the title and the edges of the page.

Tuesday, March 19, 2019

A few more Altered Book pages

I've done these altered book spreads in the past month or two but am just getting around to posting.

The first page has a dress made from a few layers of brown paper bag mod-podged together and then embossed with the Cuttlebug. It was then spritzed with spray ink and then the embossed areas wiped with a black permanent ink pad to bring out the design. I had hoped to use a little Tim Holtz metal hanger but it was too tiny.

The background is several layers of paint and ink with embossing paste through a stencil. I then wiped a few colors of Distress ink over the embossed areas and smudged with my finger. The tag in the upper right corner is a clothing tag which was too cute to throw away!


This spread is a little weird. I used a woman's face from a magazine layered over butterfly wings and a background of paints, stamps and ink.  I found the house on the Internet and glued it to chipboard to stiffen it. It is attached to the page with a small hinge.


Under the house is a vintage group photo (Tim Holtz's found relatives) - the idea is she is thinking of these people.


Another, more colorful, spread using fashion magazine images. Flowers make the "hat" for the girl on the left page and an upside down flower pot with a little sitting figure is the hat on the right page.


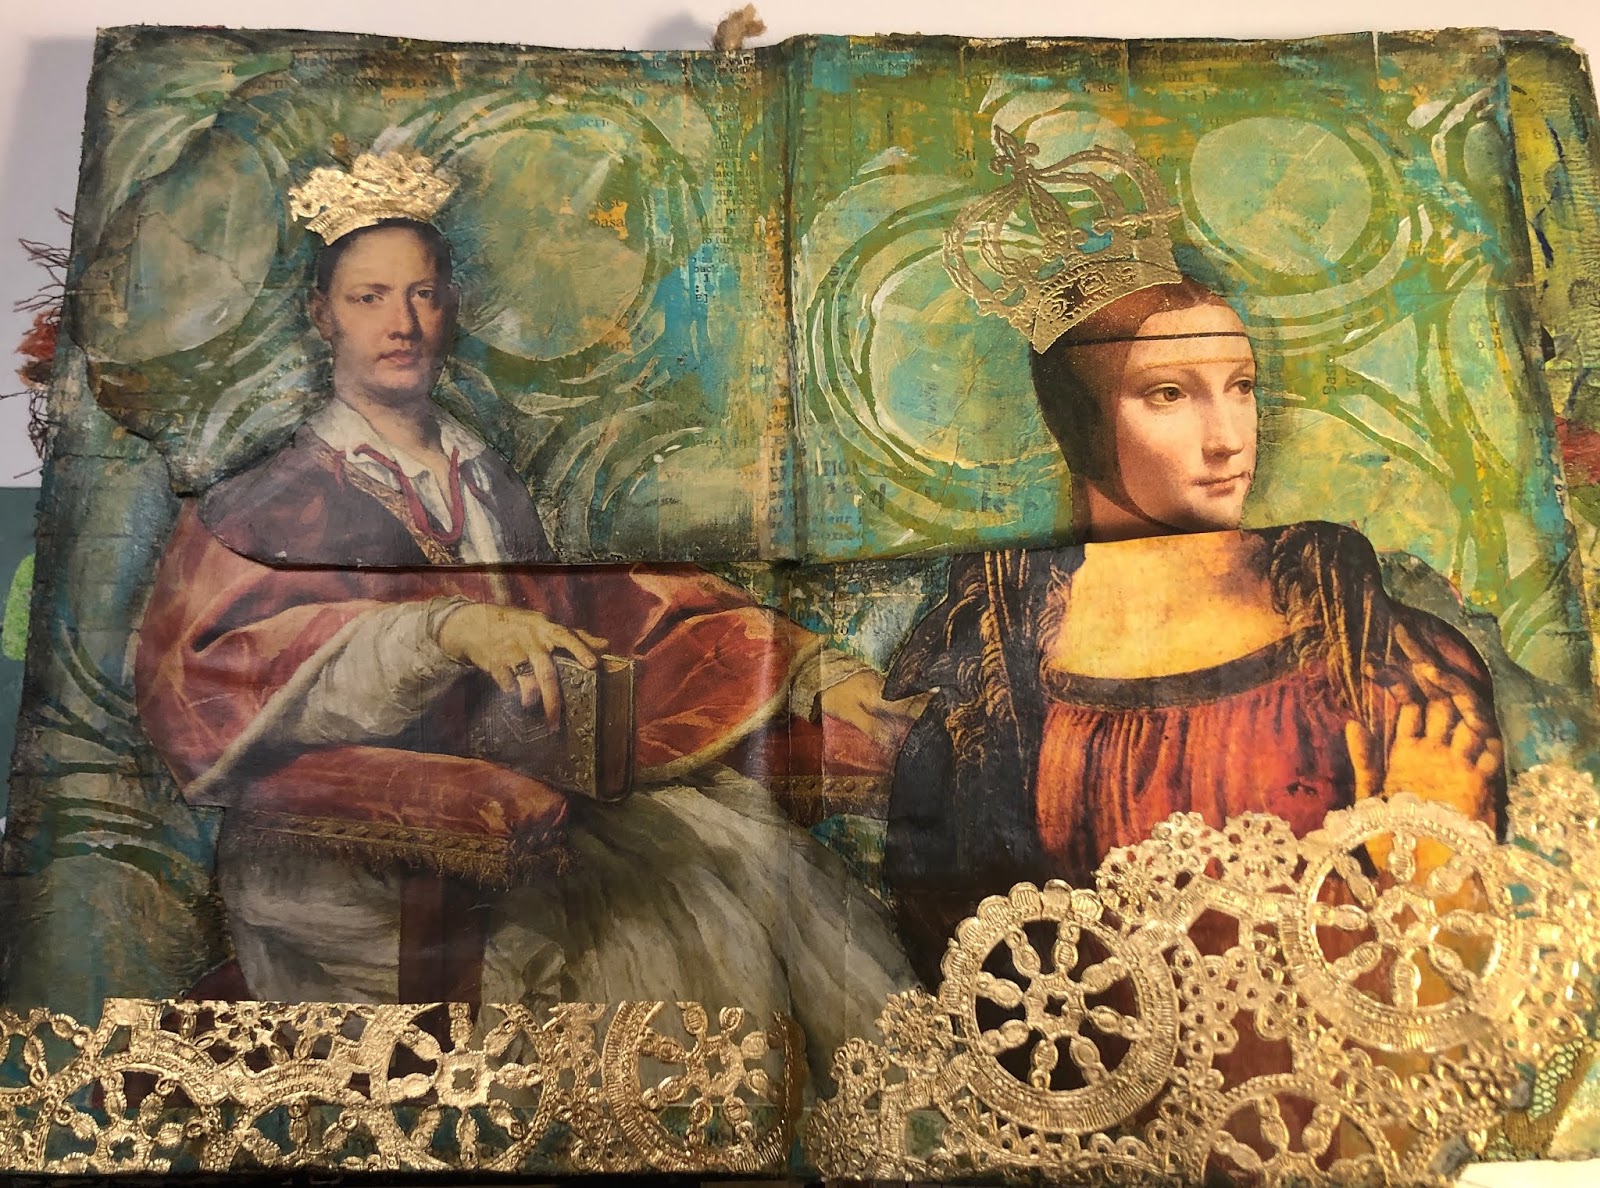
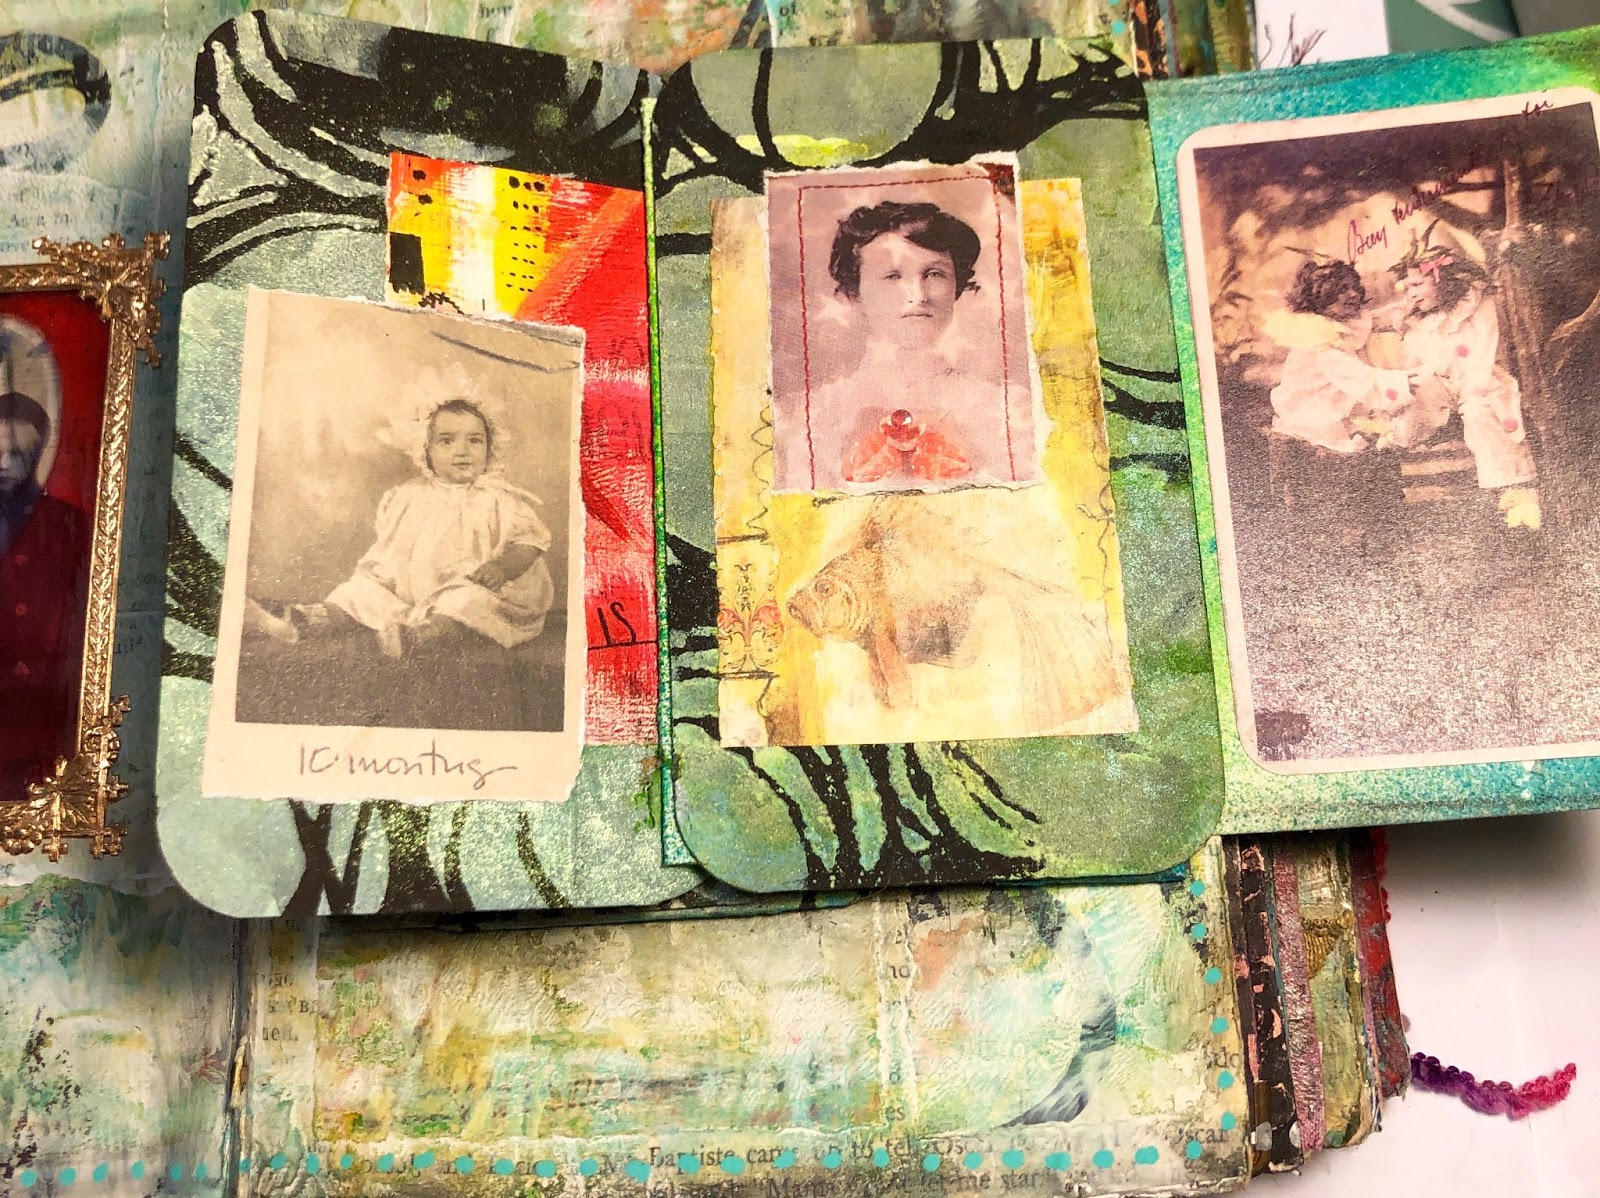
For this spread I followed LorriMarie Jenkins' exclusive Patreon You Tube video. She also shared the images - not something I usually would have used but it doesn't hurt to go outside the box occasionally! I like trying different styles.


There are chipboard tags under the right page which fit into pockets created by flattened toilet paper rolls. It's hard to see in the photos but there is also gold foil on the background.


I don't have too many more spreads to do in this book. It is so stuffed it's starting to fall apart!

Thursday, March 14, 2019

What to do with a placemat

I saw a YouTube video on making a makeup bag from a placemat and I've been in the mood to sew, so I did just that! I bought one Pioneer Woman placemat from Walmart for about $3.50 - I love her designs but they don't go with my kitchen decor. This is a great use for the pretty placemat so I can see it often when I'm traveling.  (If you're interested in making one yourself, check out the complete, very detailed instructions in the video link above.)

This is the reversible placemat I used. I forgot to take a photo before starting, so this is from Walmart's website.


Here is the finished bag, which took less than an hour to make. The video shows lining the bag with a fusible vinyl but I wanted it to be machine-washable - and also didn't want to go buy more stuff.
Since the placemat had scalloped edges, I cut those off and squared it up. Then I added the zipper (which I had in my stash - perfect color, too), sewed up the sides and then created box corners so the bag has a flat bottom.


I love it - so cheerful and bigger than my current makeup bag. Can't wait to put it to use!

Tuesday, March 12, 2019

Interactive Altered Book Spread

This is a three-page spread using images from old paintings. The center page is cut into two tags that, when flipped, reveal other images which interact with the original ones. When you flip the heads or bodies, you create other altered images. This one was fun to do but I had to work to get the heads and bodies to more-or-less match up!

Left page/man with center page/woman

Right page/woman with center page/man

"Head" enter top tag flipped to left page and "body" center bottom tag flipped to right page


"Body" center bottom tag flipped to left page and "head" center top tag over right page

Some of the images didn't extend to the bottom of the pages so I had to add the lace and gold doilies. I also added a gold crown made from a portion of the doily to one of the men and stamped a gold crown on one lady.

The background was painted with acrylic paint and then stenciled over with white paint. Then I wiped on two colors of Distress ink. I used black Stabilo pencil around the images and edges of the pages.


Wednesday, March 6, 2019

Altered Book Pages

I'm going to Austin this weekend to babysit my three and six year old grand boys but thought I'd post this before leaving. I've been back working in my altered book and having fun creating more pages.

I did this set of three pages quite awhile ago but never posted it. The center page has an acetate window. It allows the images to be seen from each side.

left page

center page with acetate window

right page

The background was made with texture paste through a stencil then painted with black gesso once dry.  After that was dry I rubbed metallic paste waxes over the high points.  The images are some of the "free insert pages" from old Stampington magazines.

This spread has a cavity cut from several pages glued together on the left side. I glued in a photo of two children, then added a printed acetate piece over the opening and glued another page on top with a window cut out.  The right page has a "flip book" with four pages.  I used Lorri Marie Jenkins' instructions on this video: https://www.youtube.com/watch?v=zDpRRaENGVE


back of first page and the second page of the flip book
back of second page and third page of flip book

back of third page and last page

The background has a base of collaged book pages and colorful scraps covered with a heavy coat of white gesso. Before the gesso dried I placed a magazine page on both sides, rubbed it and pulled it away to create texture. Then I rubbed them with Distress Inks.

I have a few more spreads to share when I return.


Tuesday, March 5, 2019

Another kind of creativity


Here's a little project I worked on this past week. I saw instructions for dyeing with avocado pits in the latest Stampington Somerset Studio magazine.  We always have lots of avocados, so I wanted to give this a try.

 I thoroughly cleaned 4 pits and brought them to a boil in a saucepan. Then I simmered them for about an hour.

I placed various bits in a baking dish - muslin and canvas fabric pieces; manila tags; book pages; old ledger pages; music papers; and twill, lace and rayon ribbon strips. After straining the avocado solution, I poured it over everything in the dish and let it sit for at least an hour.


Doesn't that look luscious?

I carefully removed everything and placed them on paper towels to drain and dry.

Some of the papers laid out with varying degrees of dyed color.

Here are the remaining wet pieces - yummy variations of pink!


This is the stack all dried. The photo is a little washed out - they are a little more pink than shown. Everything except the manila tags took the dye well. I think the tags are coated so the dye didn't penetrate enough.


This was a fun experiment. Who knew that avocados would produce a pink dye! Now I want to try all kinds of things.  Not sure what I will do with these bits but they are pretty to look at!