"Art is my vehicle through life; may we share the ride together." Ron Wickersham

Monday, May 28, 2018

Starting another altered book


Happy Memorial Day!  I hope everyone is enjoying parades and barbecues but also remembering the brave soldiers who fought and died for our freedom.

After returning home last week, my back went out and I was immobile for three days. I couldn't even make it to my art room which was the hardest part of the whole ordeal! 

Thankfully it's feeling much better now and I have managed to get back into a routine of working on an altered book I recently started. I am again following along with LorriMarie on YouTube as she posts each background technique.

So far, I have completed five spreads (I'm including the link to each specific video). These, of course, are just the backgrounds. I will go back later to add focal points and finishing touches.


Technique #1: Torn pockets, gelato, gold foil


Technique #2: fabric, texture paste and stencil; envelope pockets


envelope flap open


Technique #3: acetate window tip-in


acetate window


Technique #4: watercolor/plastic wrap, copper foil, vellum pocket tip-in


Technique 5: napkin collage, pocket page - left spread


Right spread


Center pocket page with tag

Have a great week!


Sunday, May 20, 2018

Napkin Art

I've always enjoyed using napkins in collage. They come in a great variety of styles and beautiful patterns and are an amazing source of images.

My friend, Cathy, and I got together last week and made small canvases using napkins.  I created four 6" square, deep-edged canvases.  I painted the sides, collaged a text-printed tissue paper on two and then collaged on the napkins.


a darker photo, but shows the painted edge


Made two of these - love that bunny! Sides painted gray

Last one - I intended to paint around the edges with acrylic or watercolor paints,
but not sure now as I'm liking this look


I liked the bunny image so much and still had two left from the one napkin that I felt compelled to make an art journal page with it.  

Here is the page I chose which I'd previously collaged with miscellaneous papers and a light coat of white gesso.


And this is the finished page with the napkin adhered. I also added a second napkin at the bottom and used colored pencils, a black Stabilo pencil and a white gel pen to embellish it.  It's a simple page, but I love it.


We're going out of town this week so I won't be posting until next weekend. Have a great week!

Saturday, May 19, 2018

Alice in Wonderland Book Cover

I finally bound the pages into my Alice book and finished the spine.  

I used a simple pamphlet stitch with twine to sew the pages into the spine and then covered the spine with black masking tape and a black-and-white harlequin ribbon. I added an eyelet to the top and embellished with many charms. So happy to be done and I can now enjoy my book!


Wednesday, May 16, 2018

Altered Book Cover

Finished! Today I finished the cover for the altered book I posted last week.   This was another technique of LorriMarie Jenkins.  It is made with aluminum foil duct tape from the hardware store which covers dry wall tape, corrugated cardboard, texture paste through stencils, chipboard flourishes, a key, metal washers, a few charms and some heart rhinestones.  It is antiqued with black paint. I love the effect of this black patina and I will most certainly be doing this technique again!


Saturday, May 12, 2018

Revisiting Altered Books

I have made a few altered books before, but about a month or two ago I discovered a new (to me) mixed media/altered book artist, LorriMarie Jenkins, on You Tube.  I have been binge-watching her videos on altered books ever since. She teaches in person in California but also uploads tutorials on her channel.

I just finished a book using her videos for the different pages. I only had one book with a stitched spine when I started watching her and I had already removed many of the pages, so this book only has about ten spreads. It was way too much fun! The spreads below are in the order in the book, but not in the order of when I created them. I will try to link her video for each technique.


This spread has a background of watercolors dripped with alcohol. The left page has a magazine collage with a top layer of crackle medium.  The right page has a cut-out niche with a collaged "tile" tied in. I did not cut a window for this page as I had already made the page backing it. (adding tile video)


These two pages are collaged magazine images of women. The left page has a background similar to the first spread, but with acrylic paint and alcohol drips. (acrylic paint and alcohol)

The right page has a background of texture paste through a stencil, covered with black gesso and highlighted with gelato. It seemed to be missing something so I added painted book page circles.


This spread is collage over a background of torn book pages, music paper and patterned paper. Watercolor adds the colors. (collage technique)


This spread has two pockets. The background is painted and stamped. The pockets are adhered by tying torn fabric strips through holes along the edge. 

The three focal points are actual tea bags with vintage images sewn in. They were then dipped in beeswax. (pocket tutorial) (tea bags with beeswax)


The large focal images of this spread are image transfers over a collaged background of various papers. I added stamping and lots of doodles in white pen. (image transfers)


The left page above features a hinged "door" revealing a magazine image. A magnet is hidden behind the book pages on the back of the door and catches the metal charm to keep the door closed. (adding door to page)

The right page is a napkin collaged to a background of book pages and music papers. The Eiffel Tower is a stamp and I added dots with a white paint pen. (napkin collage)


Detail - door open


This spread has a pop-up vintage image featuring several men. The background is black gesso with rings stamped with white paint and a toilet paper roll. I added lots of metal gears and tied fibers close the pockets which create the pop-up. (pop-up technique)


Better view of pop-up


This is a double spread - a left page, right page and a page with an acetate window between.  The photo above shows the right page peeking through the stamped acetate window. (adding window, substituting acetate)

The photo below shows the left page showing through the window.


Center page with acetate window


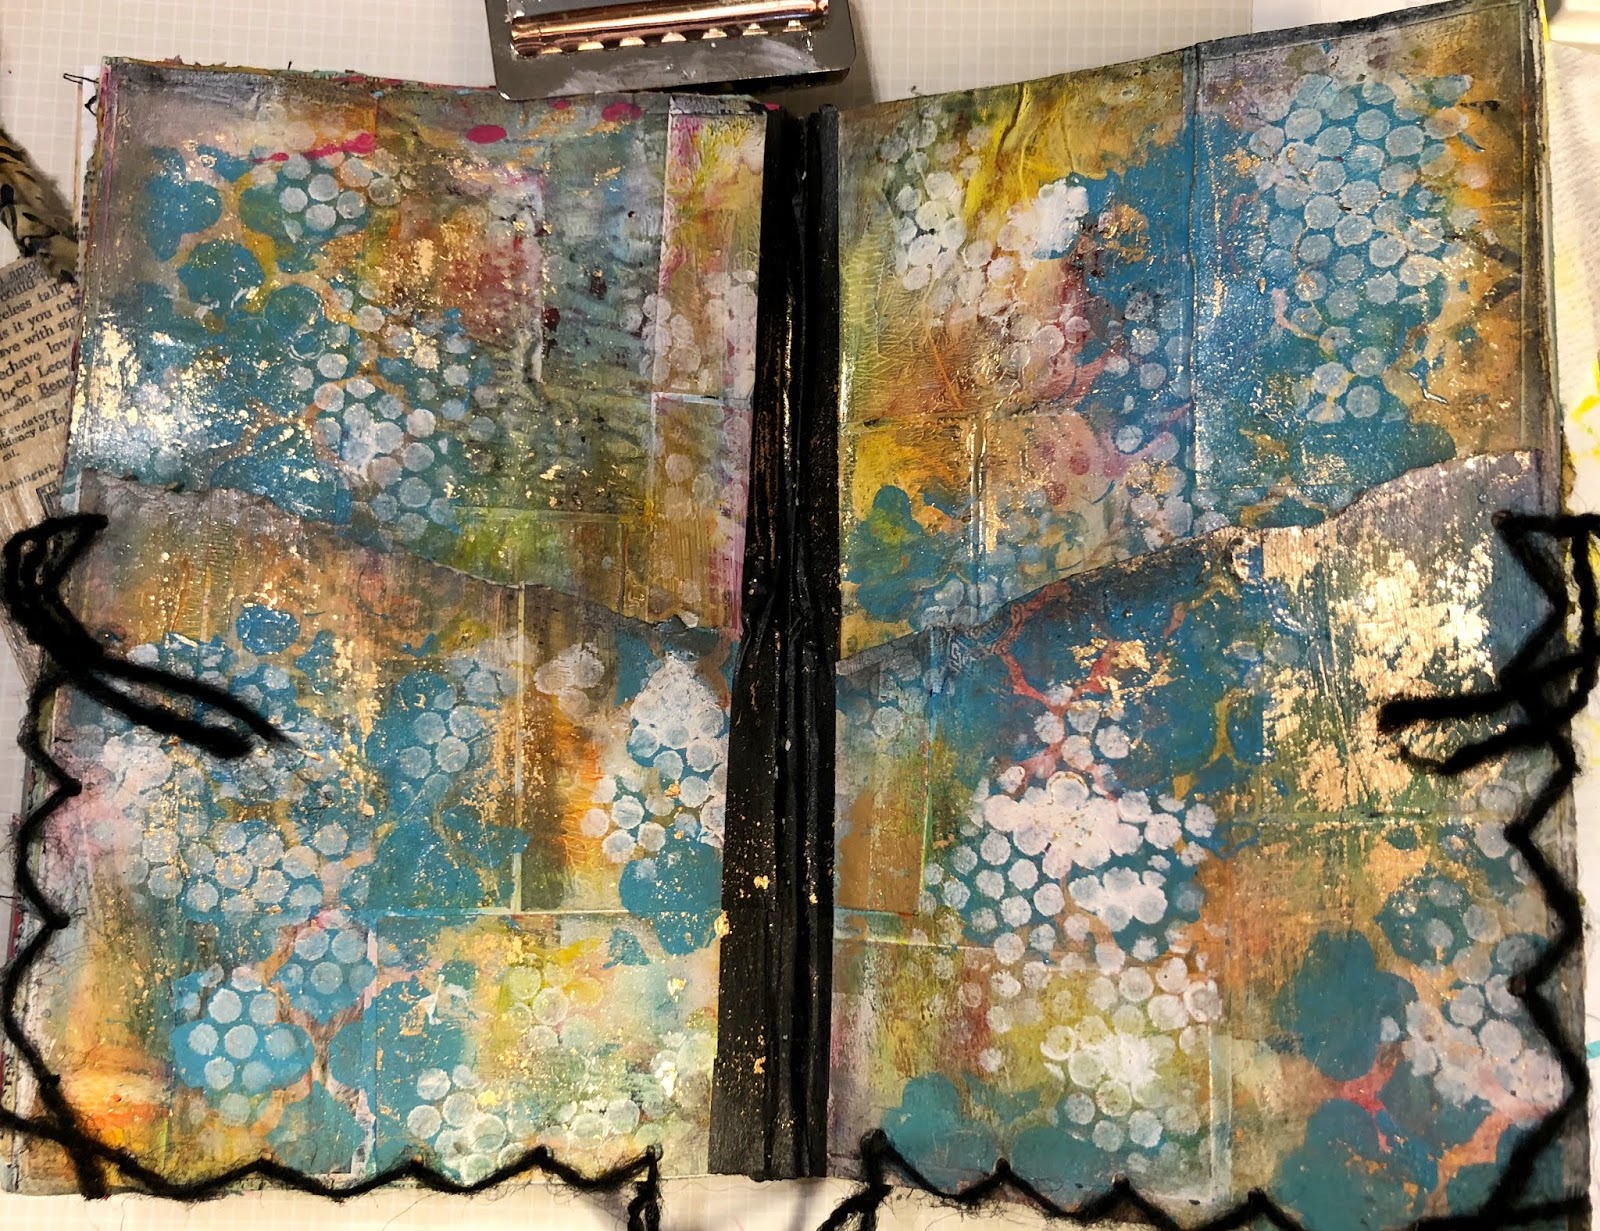
This is the last spread. The background is several layers of acrylic paint, dripped with alcohol. Two microscope slides contain vintage images and are adhered to the background. I added some collaged images, half circles and some white dot doodling. (adding microscope slides)

No ideas for the cover yet so it is unfinished. 


 She is just beginning a new altered book. This series will only feature the backgrounds and the rest of the pages will be up to each person to complete as desired. I am going to follow along with this one, from start to finish. Here is the first video of the new series: https://www.youtube.com/watch?v=b0V3awQB-5c&t=2967s  Come play along with us!

Wednesday, May 9, 2018

Alice in Wonderland

The book I created at this year's retreat was "Alice in Wonderland." I haven't quite finished it yet as I need to bind the pages into the book and decorate the spine.

I started by gutting an actual Alice in Wonderland book (the original version illustrated by John Tenielle) and used some of the text and illustrations within my book. I also purchased a digital paper kit from etsy featuring Alice in Wonderland images and backgrounds. These backgrounds were the base of most of my pages. 

I left the cover intact and added an Alice silhouette cut on my Silhouette. I attached a flower made from heart playing cards with a dice as the center. I plan to cover the spine with black tape or painted canvas covered with a black and white diamond-patterned ribbon (the twine holding the pages now are temporary).

Cover

Inside front cover and first page

Second (with an acetate tip in) and third page (with pocket and tag)


Detail - tip-in

Left page under tip-in


Tag on right page

Pages 4-5 (using Alice bookmark and copying/reducing it twice)


Pages 6-7 (tag tip-in on left page)

Detail - flip-out tag and page underneath


Pages 8-9 (pocket on left page with two tags)


Pages 10-11 (tea bag and pocket on left page)


Pages 12-13 (left page has flip-up/swing card with four card soldiers)

Inside detail

Pages 14-15 (left page has tip-in) - large Queen is another bookmark

Tip-in opened

Pages 16-17 (rabbit is a layered die cut)


Last page - Alice on playing card flips out


Detail under card - tiny playing cards on spiral acetate to "fly out"