"Art is my vehicle through life; may we share the ride together." Ron Wickersham
Showing posts with label junk journal. Show all posts

Wednesday, July 29, 2020

Another Junk Journal Page

For the front of this junk journal page, I added one of the journal cards that I made previously with a decoupaged napkin. I glued a wide piece of lace to the top and folded it over the top of the page to form the hinge.


When this flips up, you see the full front page, collaged with various papers and a botanical image as the focal point.


On the back I added another strip of the same wide lace at the bottom for a pocket. Inside that I inserted the double pocket I showed in my last post. It fit perfectly! The back of the pocket as well as the backs of the two tags offer lots of journaling space.


Sunday, July 26, 2020

Double Book Page Pocket and Tags

This is another easy pocket to add to a junk journal. It uses three book pages for the base. They are stacked one on top of another; then the first page's top right corner is folded down to meet the left edge of the page; next the second page's top left corner is folded down to meet the right edge of the page. These are all glued together which forms two pockets.


I then decorated it and added a tag and a journal card made, again, with collaged book page bases. This will be added to a pocket on the back of a junk journal page I will share next.

Friday, July 24, 2020

Triple-stacked Pocket and Tags

I found a tutorial for this cute triple-stacked pocket on Yvonne Preston's YouTube (https://www.youtube.com/watch?v=Bna2jv-WSMo) and just had to make one for my junk journal.


I used three pieces of tea-dyed copy paper about 4" wide x 9" long, folded them into pockets and glued them together to form the "stack."


The little tags are bases of book pages glued together and then collaged with scraps of papers and embellished with botanical stickers I purchased quite awhile ago from Ali Express. They are about 3" x 3.5."

This was easy and fun to create. Yvonne's tutorial is very good if you want to try to make one.

Monday, July 13, 2020

Junk Journal Page Swap

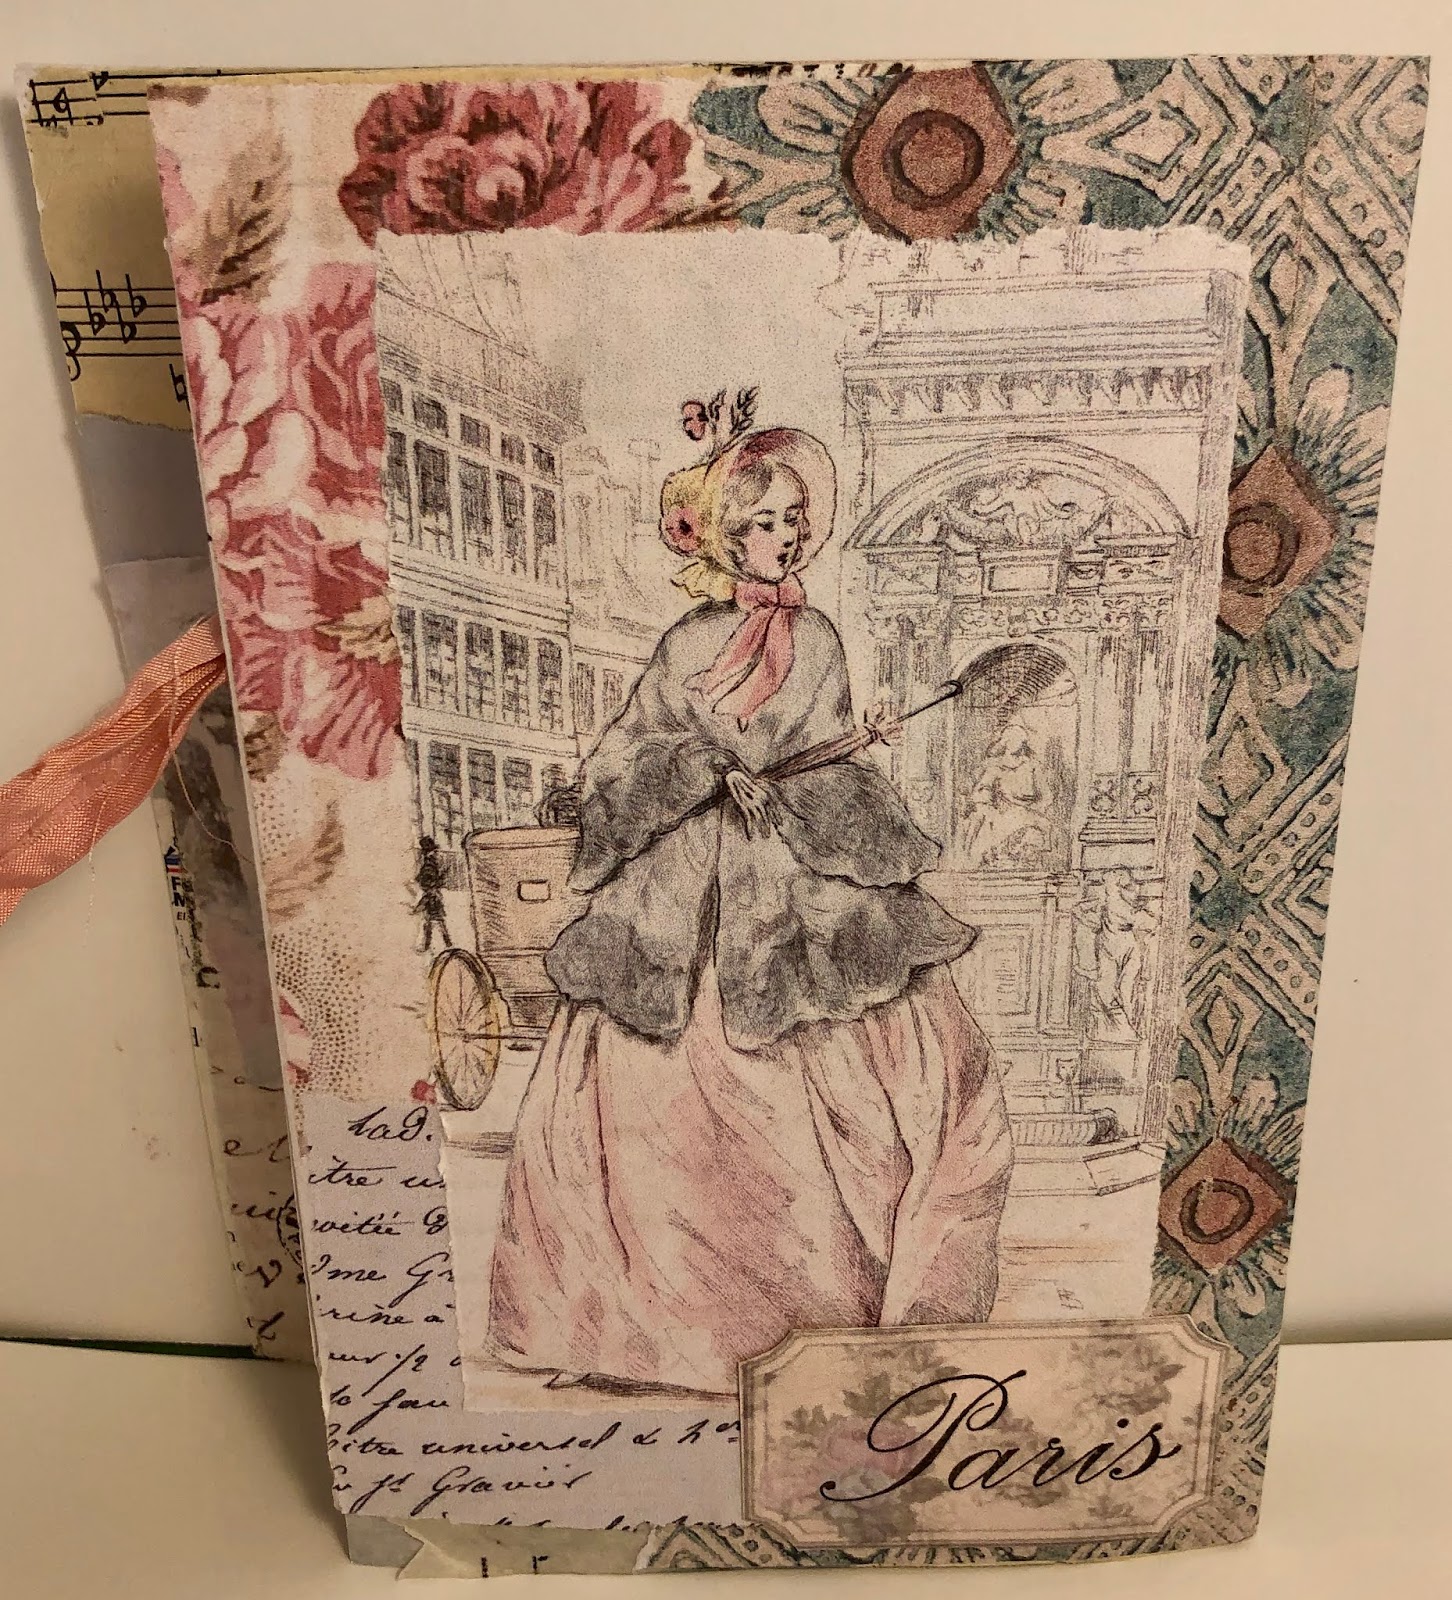
For this month's vintage junk journal page swap I chose a French/Paris theme. The page is about 5.5" wide by 7" high with a fold out slightly smaller. I used a junk mail brochure for the base, collaged with several papers, book text, music page. The focal points are from some digitals I purchased.


Front of the fold out


Front with a large altered paper clip

Open page - on right is a flip out pocket made from an envelope


Journal cards inside the pocket
(vintage postcard reproductions from an old Stampington magazine)


Page fully open with altered paper clip in foreground


I had so much fun making this - I love all the interactive elements. I hope my partner will like it.


Saturday, June 13, 2020

Junk Journal Page Swap

I am participating in a junk journal page swap in June. The theme is "women" in vintage style. The page is 5' wide by 7" high.


Front


I collaged various bits of papers and text to the background base (file folder) before collaging a portion of a doily, some lace and image of flowers with the focal point of Edwardian ladies, an image from the internet. I added the little blue ticket to balance the blue of the paper at the top and the flowers and then added a large paper flower with a vintage button.  The cluster at the top right is made by clipping strip of lace, a piece of ribbon, a ticket with a postage stamp and a tiny button onto a bulb pin.


Back


The back is supposed to be very lightly decorated so I stenciled with Distress ink and then added two paper bits at the bottom. The recipient can still use this side for journaling if they so desire.

Monday, June 1, 2020

"Waterfall" pockets using envelopes

This waterfall pocket is made with two business envelopes (#10). I cannot find the You Tube channel I originally found the tutorial on, but here is one if you want to see the actual construction. (https://www.youtube.com/watch?v=w663mrPlgZ8)  The top edge is cut off slightly to make pockets. One envelope is folded so there is one end longer than the other (this forms the top pocket and the back). The second envelope is also folded to form two more pockets. This is tucked into the fold of the first to form the waterfall.

I sewed the two envelopes together at the top fold and covered the fronts of the pockets with vintage wallpapers, vintage images and lace. The undersides are covered with tea-dyed paper for space for journaling.


The tags/journaling cards inside each pocket are book pages folded over and glued together to form a sturdy base then collaged with various papers and images. The backs are plain paper for journaling.


This can be slipped behind a belly band or tucked into a journal with a paper clip or even glued to a page. I love that it's interactive and not hard to create.


Friday, May 22, 2020

More Junk Journal Ephemera using "trash"

I have a problem! I hate to throw anything out that could possibly be upcycled! So my challenge is to make these rescued bits into something usable.

This is a tag from some clothing. It was interesting because it was a double tag and very sturdy.


I collaged all sides with some vintage wallpaper, a piece of doily and other papers. After rounding the corners, inking edges and tying a silky ribbon in the existing hole, it turned into a pretty little tag/journaling spot for a journal.


inside


This started out as an offcut strip of manila paper. I collaged very tiny bits of papers, fabrics and lace along the entire strip and then folded it into thirds like a matchbook. 


  I sewed in several pieces of plain paper when I sewed the smaller flap. That flap holds the top closed. This makes a cute little "notepad" to insert into a pocket in a journal for extra writing space.


These are "guest checks." They aren't vintage - I bought them at Walmart - but they make a nice size tag or journal card. I collaged over them with miscellaneous papers and old postage stamps, then sewed around the edges. The images are Tim Holtz's paper dolls. The left tag has a ruffle of sewing pattern tissue sewed along the top; the right tag has the stamps sewn on the front. The backs have plain paper attached for journaling.


This card came with a makeup sample. (I forgot to take a "before" photo.) It was too nice to pitch, so I collaged over it making sure to have the women's portrait positioned to show through the opening. 


Here is the card open. I attached a piece of paper-covered card stock at the bottom for sturdiness and to hold the top flap closed.


The back is just collaged. I love how this turned out - it's a nice journaling card to clip to a page or tuck into a pocket.


Always look at your "trash" with an eye to what it could become. Be environmentally-conscious and save stuff from the landfill!

Friday, May 15, 2020

May Junk Journal Page Swap

I created this page for the May junk journal swap in my online group. We make one page approximately 5" x 6-7" to swap with a partner. One of the requirements is to have space for journaling.

The base of the page is a folded map and the front was collaged with book text. The front page has a belly band which I made from a strip of file folder collaged with tiny bits and pieces of papers and lace. I added the paper flower with a brad for more interest.


Under the belly band are two journal cards. The bases are book pages glued together and then collaged with other papers including some vintage wallpaper. The larger one has a plain back for journaling and the smaller one is a trifold with space inside for journaling.


For the back page I made a flip with a strip of pretty patterned paper attached to the top of a small paper bag. This was then attached to the page. I added the definition label, butterflies and bird.


The top of the flip has a "notepad" made from several pieces of copy paper dyed with avocados. (Yes, the dye is pink!) The music paper is also avocado-dyed. The paper bag is stamped and collaged and the tag is collaged with several papers.


I love all the interactive features of this page. It was so much fun to create.

Thursday, March 12, 2020

Another junk journal page for a swap

I am participating in a junk journal page swap every other month. There are no themes - just have to create one approximately 5" w x 7"h page.

This is my page which has already been sent off to my partner. I actually used some of the "scrap roll" I posted about several days ago.  This was a piece about 11' wide and 7' high which I folded in half and stitched around to make a pocket.  I added the woman's image which came from an old piece of scrapbook paper and a piece of old book spine at the bottom for texture. I used a little stamp on another scrap of patterned paper.


Inside are two tags. The one on the right is made from another portion of the scrap roll. I added a strip of upholstery fabric, some mulberry paper and coffee-dyed cheesecloth under the vintage image. The "tag" on the left is made from a guest check. I added strips of book text and brown paper bag under a Tim Holtz "paper doll." I sewed three old postage stamps over the book page and also stitched around the perimeter of the tag. I stamped the numbers above the image. Both tags have plain paper mounted on the back for journaling.


I am having such fun making these pages. I hope my partner likes vintage as much as I do!

Wednesday, January 15, 2020

January Swaps

I've signed up for several swaps this month. The first was not actually a swap - we send as many cards as we like to one member who then distributes them to the residents of a nursing home. I sent quite a large envelope full this month as I had made many cards from scraps when I was cleaning up my craft room.

Next is the monthly altered trading coin (ATC) swap. ATCs are little 2.5" round art pieces. I participated in all twelve months of 2019 and am continuing for 2020.  January's theme was "Valentines" and we made two to send to two others. For mine I used bases punched from patterned scrapbook paper and then fussy-cut images from vintage valentines, along with a sentiment. I also added red heart stickers and Stickles around the edges.


A new swap (which I am hosting) is for "inchie" houses.  These are tiny houses which must be no larger than 1-inch square with an optional roof that makes the house no larger than 1.5 inches. This will be a quarterly swap with no theme and we make three to send to three others.  

I made myself a little template and then cut three houses out of some gelli-printed paper scraps I had. I also cut three more to back the houses and tiny rectangles for windows and doors.  I doodled around the details with a fine black pen.  These are so small it's very difficult to get much detail and it will be very interesting to see what others come up with!


And last but not least, I joined the first of an every-other-month junk journal page swap. The parameters are to make one page (not a spread) no larger than 6-7" tall by 3.5-5.5" wide using "junk." These type of journals are quite the rage now and it's amazing what you can do with junk mail, old papers, receipts, empty food boxes and your stash!

This is my fully-loaded page with tags stuffed in the pocket.


And with pockets emptied:


(not sure why this photo looks more green but the actual color is like the photo above)


The base is a folded map page from an atlas, lightly collaged with book pages and music papers.  Little scraps of fabric are sewn to the right edge and a kraft-colored doily is glued over the top edge of the page. The front pocket is half a security envelope glued on so as to create a pocket at the top as well as at the side. It is collaged with bits of vintage wallpapers with a few tiny labels added.


These are the two pieces added to the side pocket. One is a copy of an old postcard and the other is a tag created with an architectural image and a woman (which I repurposed from a card I received a long time ago!).


Peeking out of the top pocket are two tags and a little booklet.  The largest tag has collaged scraps of papers, a stamp and fussy-cut butterfly and a photograph of my mother and two of her sisters when they were teens. It's printed on vellum and I had made it for another project and never used it. I love it because she is sticking out her tongue! The smaller tag is again collaged with book pages, other scraps and an image of a vintage girl. I created the little booklet from an extra family photo Christmas card as it was a nice sturdy weight. I collaged bits of map and text papers to the outside and inside added some vintage lined paper for journaling. The fiber on the paper clip is from a fraying chenille  throw I have - love the color and texture.


Saturday, January 11, 2020

December Daily - Days 26 - 31 and cover

 Days 26,  27 and 28

The book is getting really chunky and it's hard to see page 26. I used two coordinating scrapbook papers vertically with washi tape between. We drove from Sedona to Albuquerque that day and encountered snow in Flagstaff as we drove through. I added a photo of that as well as pictures of the little guys once they got home and opened the presents awaiting them there.


Day 27 is the other half of the red and white striped bag. This was our first day home and not much happened except for sleeping in and doing laundry!

For Day 28 I used a gorgeous cardinal napkin on the whole page. It was so beautiful I didn't want to cover it!  This was the day my computer died so I journaled a bit about that at the bottom.


Days 29 and 30

Day 29 had a beautiful embossed (and very old) paper on it. I only added a red doily and a die cut paper for journaling.


Day 30 is the other half of the small page earlier in the book. I added the decorative piece which was a scrap and just big enough to make a pocket. Inside the pocket is a tag with journaling about a not-very-exciting day!


Day 31 - New Year's Eve - and inside back cover


We had a quiet NYE at home so this last page is very limited in decoration.  The back cover has the same paper as the inside front cover with a sentiment which I cut out of a Christmas card.


Whew finished!

Here is the front cover. I waited until the inside pages were done before decorating this. I loved the red and black from the original book cover so retained that. I added a piece of torn Christmas music layered with pieces of gold mesh ribbon, a tag, a few ribbon streamers and a metal poinsettia clip from the Dollar Tree. (I did buy that new especially for this cover. Most everything else was scraps and miscellaneous from my stash - and I still have so much left!)


Here's a side view to show how chunky this got! I punched holes in the front and back covers, inserted eyelets and tied on pieces of lace trim to tie it closed.


I am very happy to have yet another December Daily finished. This was my fourth year to do this and I love both the process as well as being able to look back through the years at the memories. I also use it as an excuse to use my stash and try every year to not buy much!  Slowly, slowly, I am beginning to whittle it down!


Tuesday, January 7, 2020

December Daily - Days 19-25

Once we returned from the Christmas week, I updated the December Daily pages for the days we were gone.

Day 19

The background is a woodsy napkin my friend sent me. I added a Christmas card I received from another friend with a moose which coordinated nicely.  This was the day we traveled to Albuquerque and met some longtime friends in Old Town for dinner. I added a photo of the four of us.


Inside the card I added a photo of that day's "12 Days of Christmas" swap ornament along with strips of the washi tape that were on the package. I also added part of my boarding pass.


Days 20 and 21

Day 20 's background is scrapbook paper with an open pocket at the bottom. I hinged our family Christmas card to the top.


I added some journaling about the day on the backside of the card and some Christmas postage stamps on the page. Inside the pocket I placed the tag from the day #8 gift with a photo on the back.

Day 21 is a small page. I used a journaling card as a flip out and added photos underneath. On the backside I used another napkin gifted to me and a photo of two grand boys in the hot tub in our hotel the first night.


Day 22

The background on this page is tissue paper. This was our first day in Sedona and the rental house. I added several photos. Under the journalling card which says "4 more days until Christmas" for Dec. 22, there is another photo and journaling.


Days 23 and 24

Day 23's background is a black and white scrapbook paper. It wasn't quite tall enough to cover the page so I added a red scalloped piece. This page has a photo of some of my guys watching TV at the AirBnB, a photo of day #9's ornament and some info from the brochure of some ruins we visited.

The red and white striped bag is just an extra and I added a card inside for more journaling.

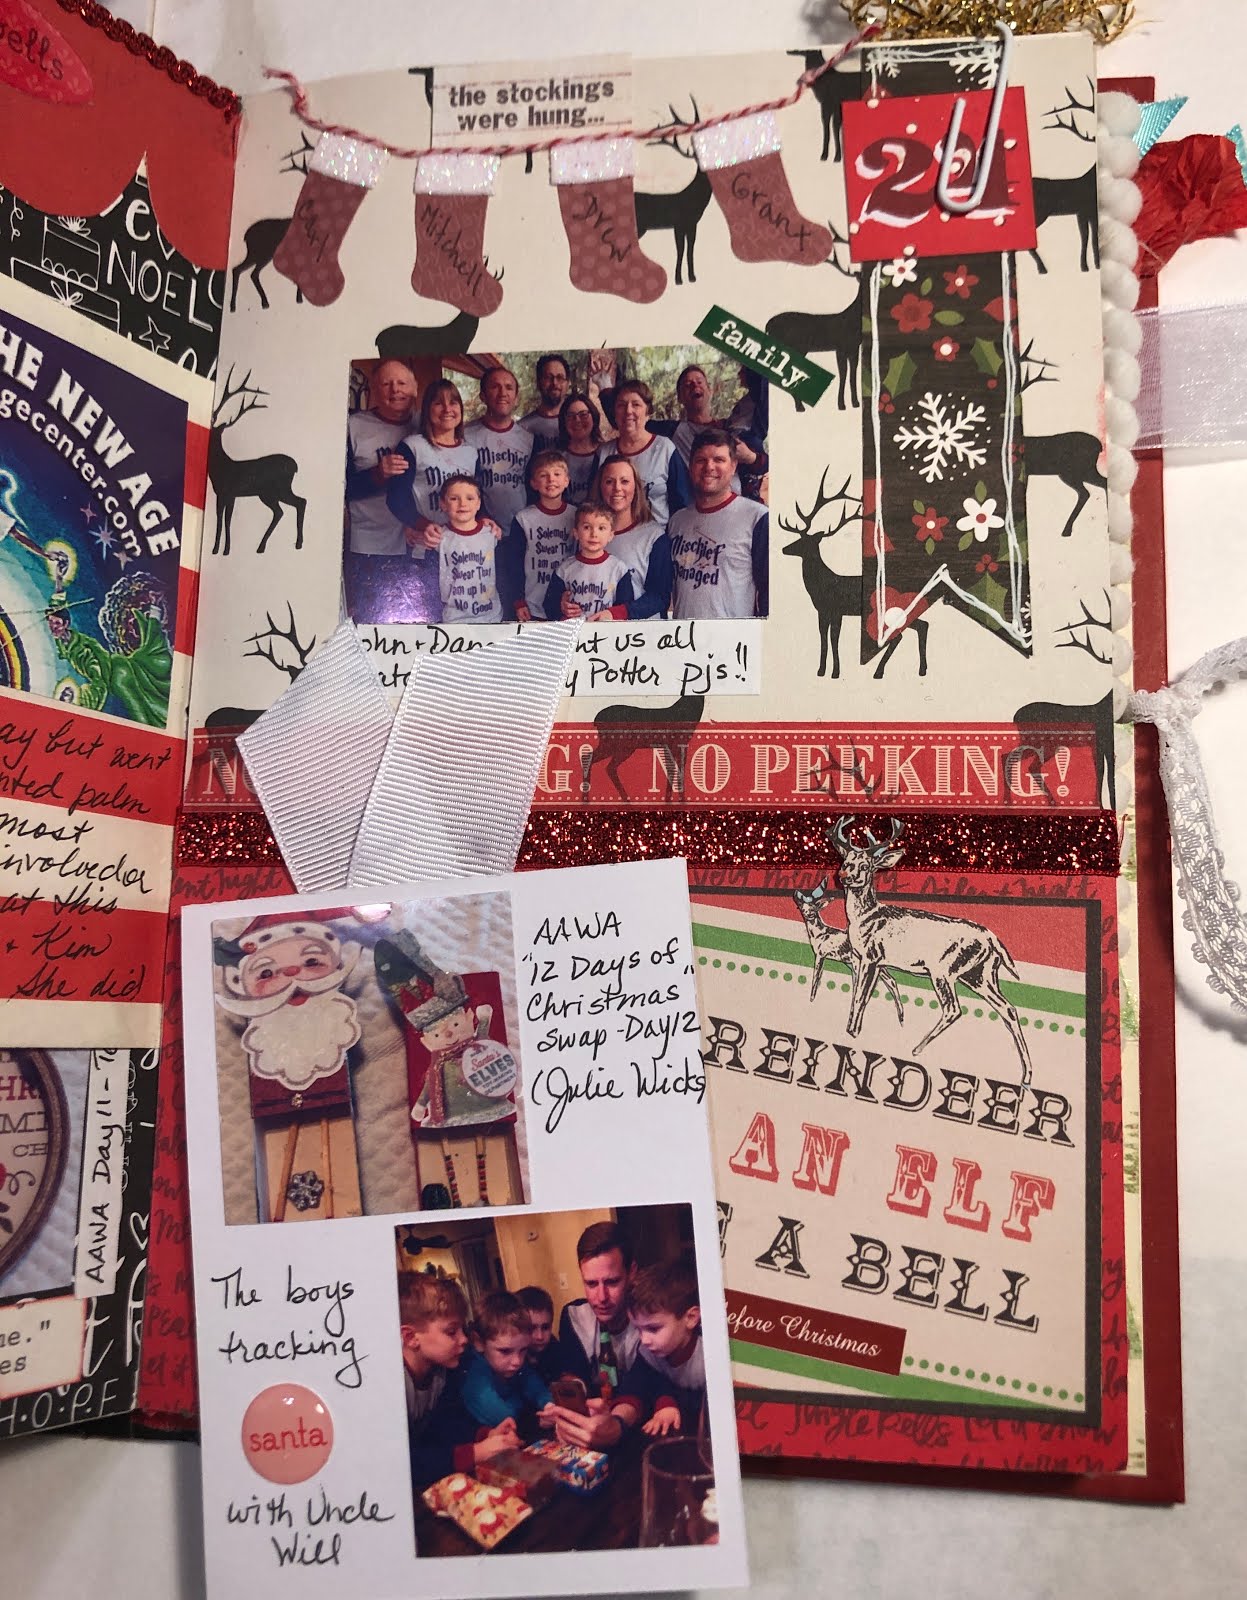
Day 24 was Christmas eve and I added four little stocking stickers at the top of the page. There is a pocket at the bottom with a journaling card inside with more photos and journaling. There is also a photo of all of us in our Harry Potter pjs that our daughter and son-in-law gifted us and insisted we wear!


Day 25 - Christmas!

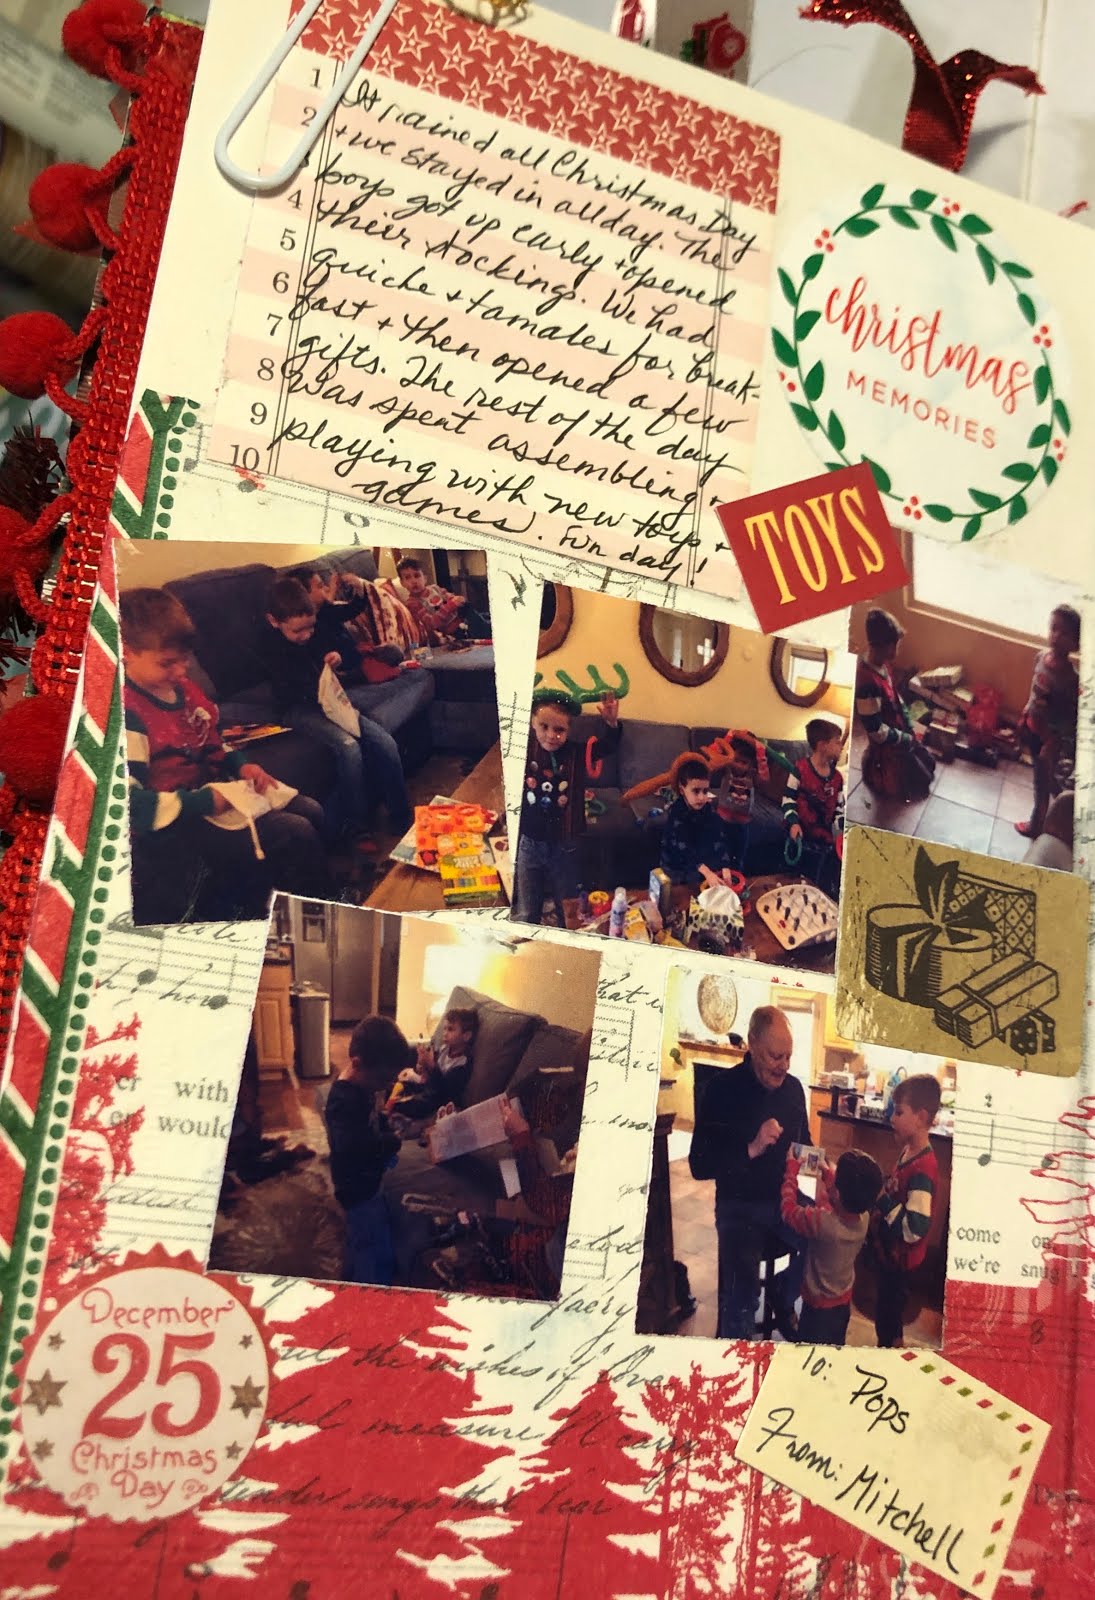
I used a double page spread for this day. It is mostly covered with a beautiful red and white napkin. I added several photos from our day as well as a Christmas card I received which matched the page so well. The card is only attached with a paper clip to reveal more photos and journaling.


I'll share the remaining pages in a future post. Hope you're enjoying it !